Showing posts with label Tutorial. Show all posts

Tuesday, 8 January 2013

Faces of December/ Christmas/New Years

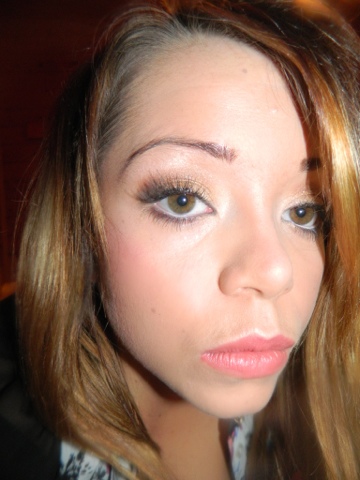
Another faces post, I rather like doing these more then face of the day post so I will probably do these monthly from now on. As some of you might not know I work in a nightclub and a little requirement is to dress to impress or as my manager puts it "Sex Sells". Some of you my find that derogatory but the fact is I adore my job and getting to play around with looks that I may only get to wear when I am heading out with the girlos is soo much fun! And frankly all I do is serve drinks and throw a few bottles around!

New year I said I needed to start experimenting more with colors and start wearing blue which is a color I can not stand for some reason and try veer away from my normal smokey eye look. Slowly but surely I am getting there and I am even wearing out the blue in public.

So here is the looks any questions just leave them in the comments box or requests for tutorials!

A grey/silver smokey eye and Sleek pout paint lips in Pin Up


I'm back wearing strip lashes the bigger the better!


Glitter Glitter!


A rare night out and not a smokey eye in sight! Golden Eye


Date night look just a tad bit of a smokey eye and some mega long individual lashes!


Blue and Purple !


All blue!


The Old Favorite


Rocking my new lashes from metamorphosis-lashes


Thursday, 13 December 2012

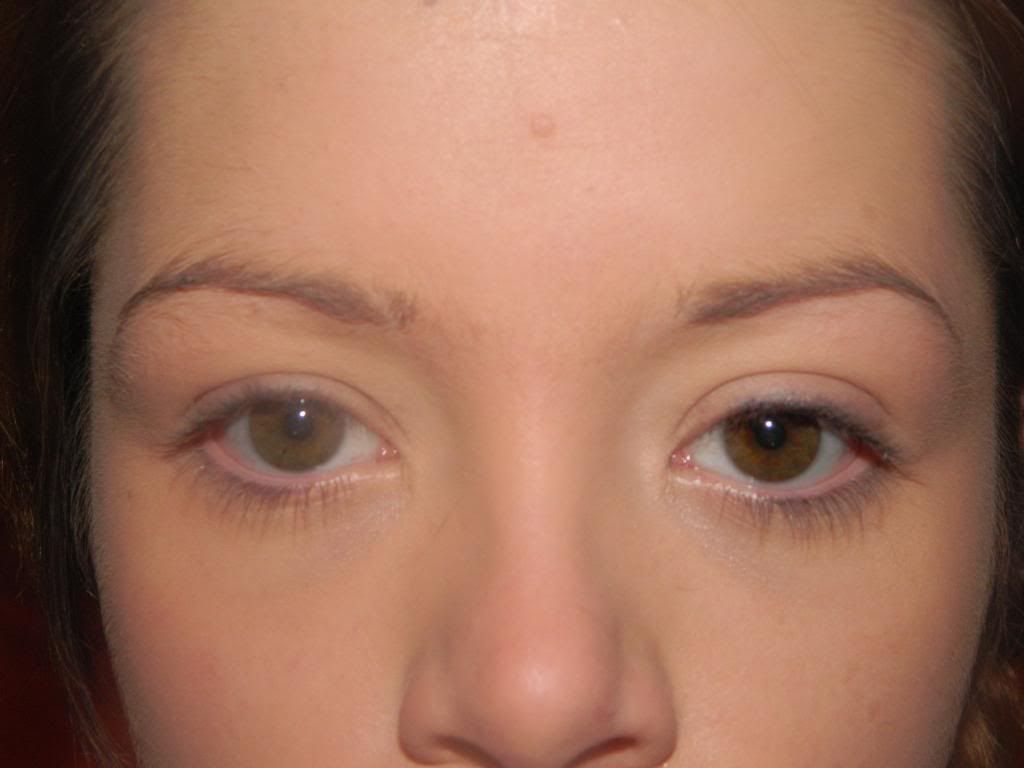
New Eyebrows! Mini tutorial


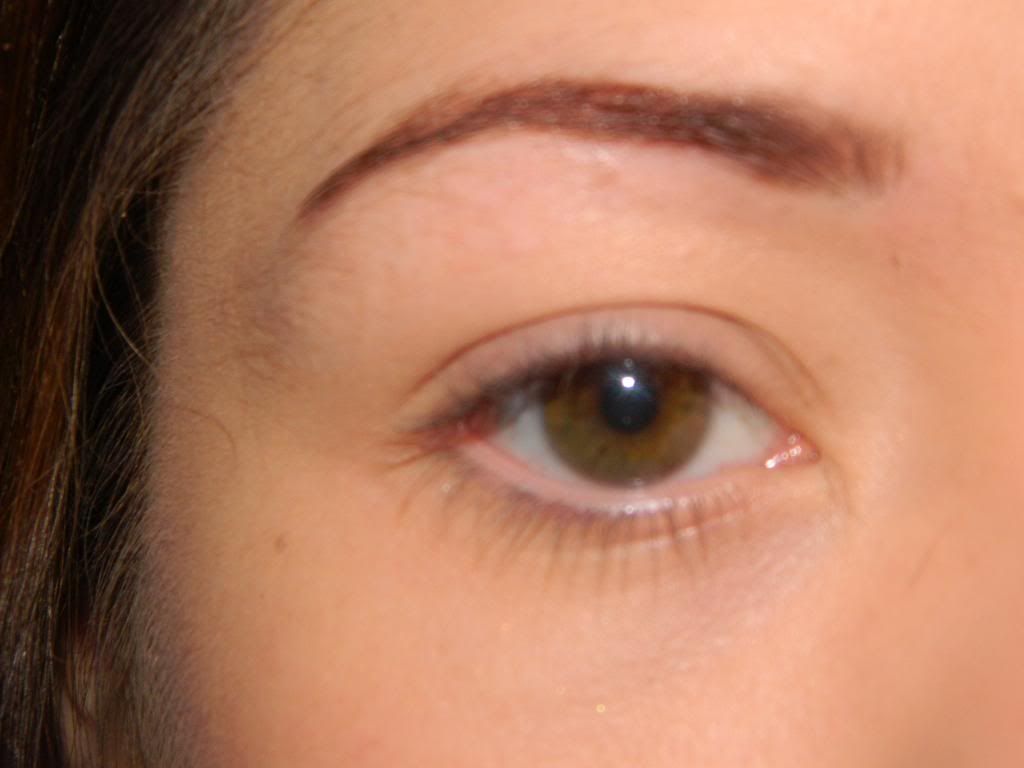
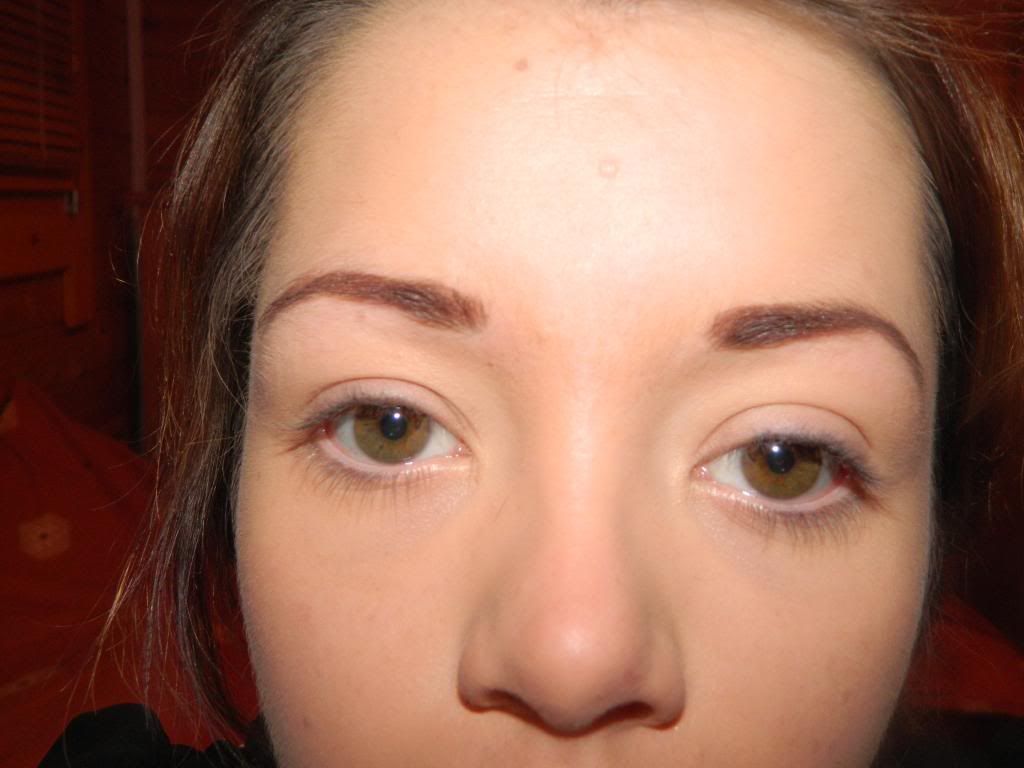
Here is a picture from March and as you can see my eyebrows have never even been a bit related let alone sisters! I finally got sick of looking at these monstrosities and attacked them with the tweezers. This could have gone totally wrong but luckily it did not and now I have brows I am proud of and have received  many compliments about them.

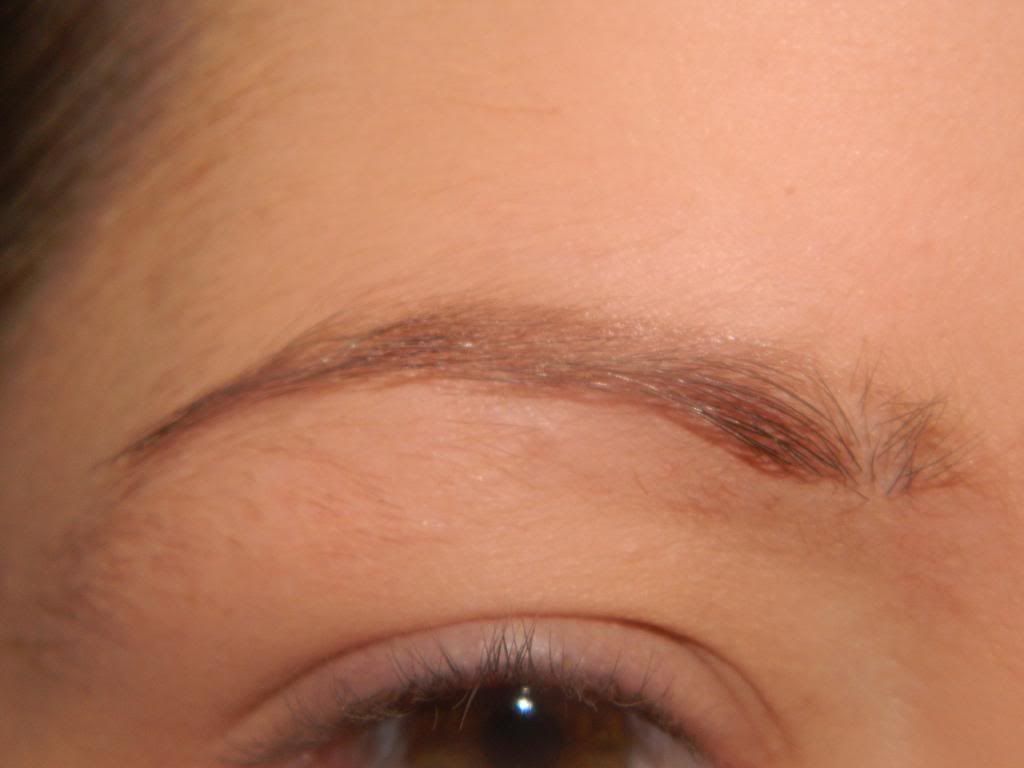
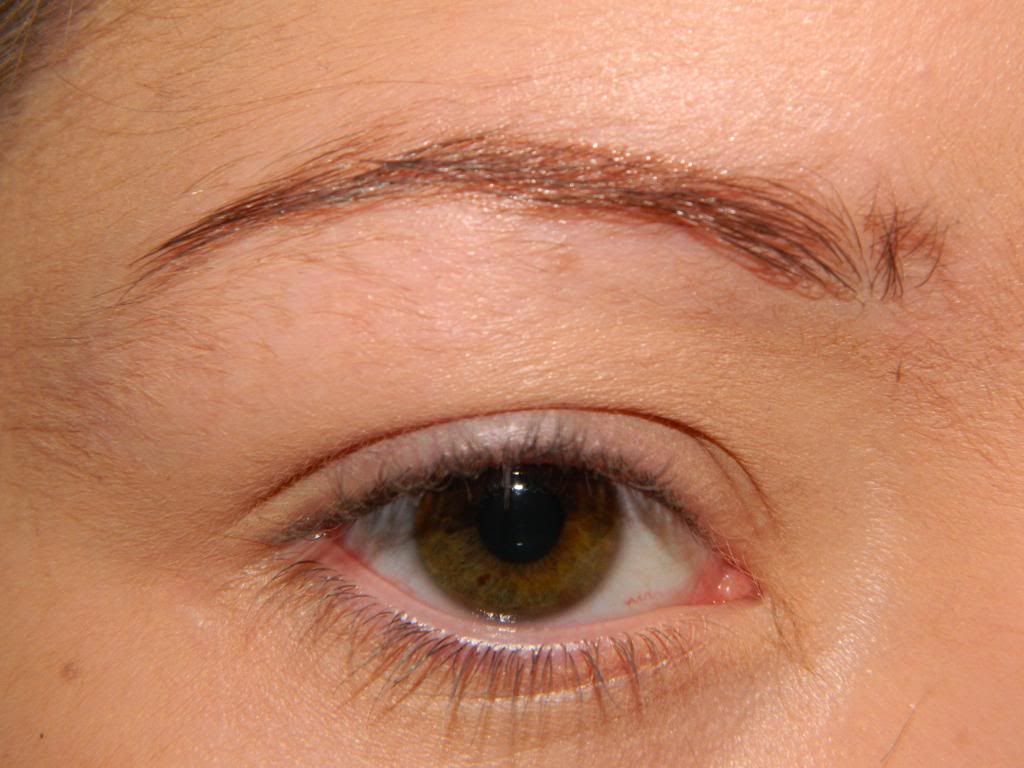
As you can see I got rid of most of the bulkiness at the front of the eyebrow, keeping the inside to arch the same width and then thinning out from the arch to the end of eyebrow.

I first lightly draw the shape I want my brows to be using Inglot Brow gel 571 using a slanted eyebrow brush.


I then fill in the whole brow with the gel.


Using a matte brown from my 120 palette I fill in the brows keeping to the shape I created.


Finished brows! These are my day brows would you like a post on my night brows?

Products used:

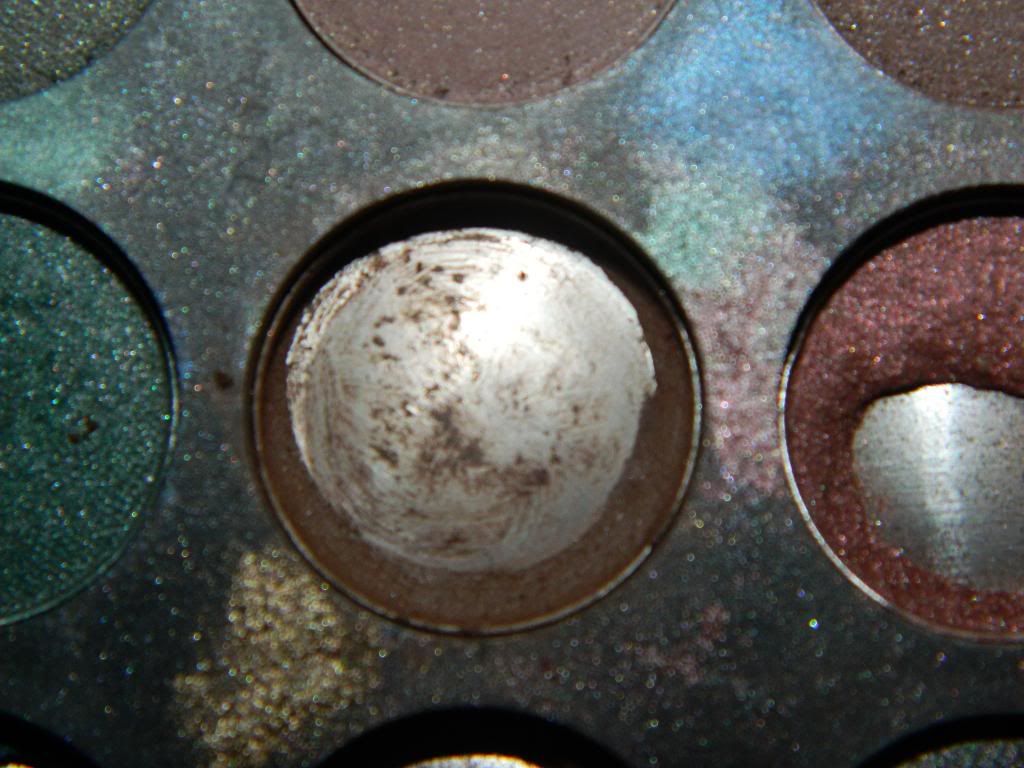
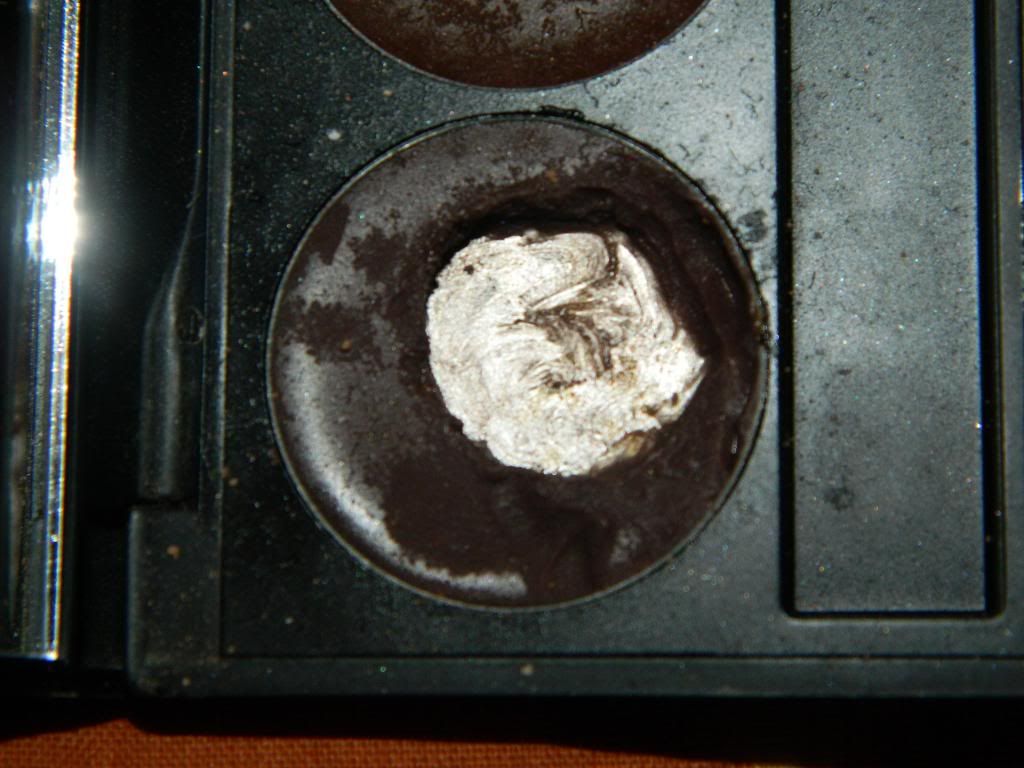
Matte brown from 120 palette nearly gone so have invested in a brown from NYX which should be here next week.

Inglot brow gel 571


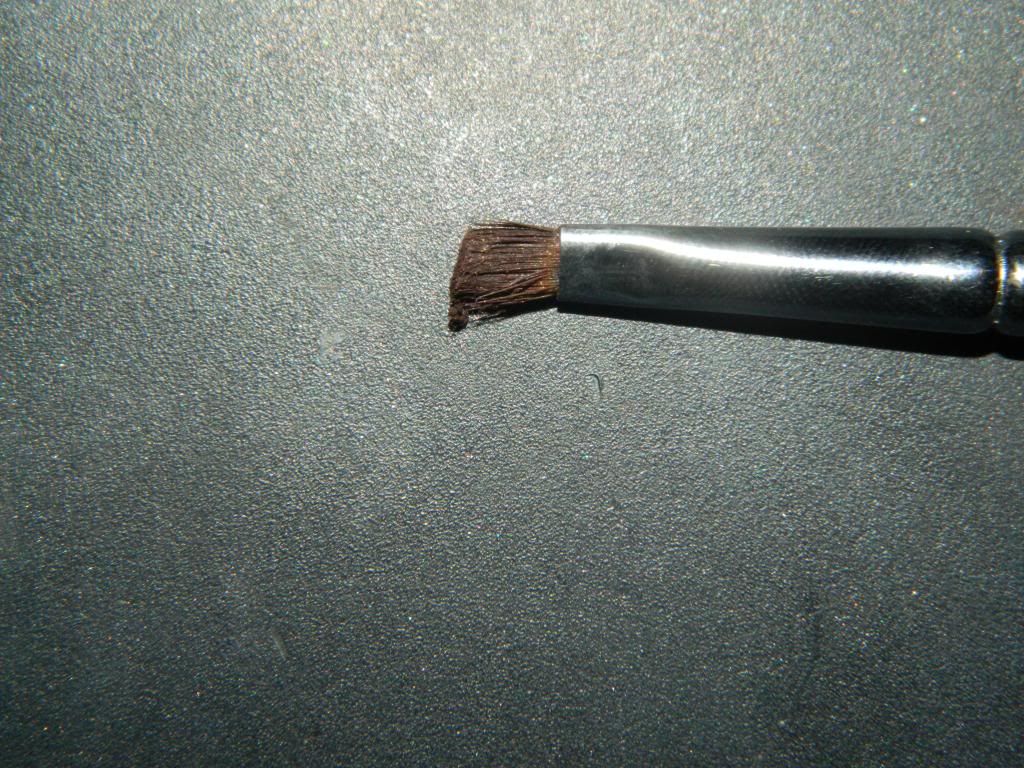
Slanted eyebrow brush from LA Makeup

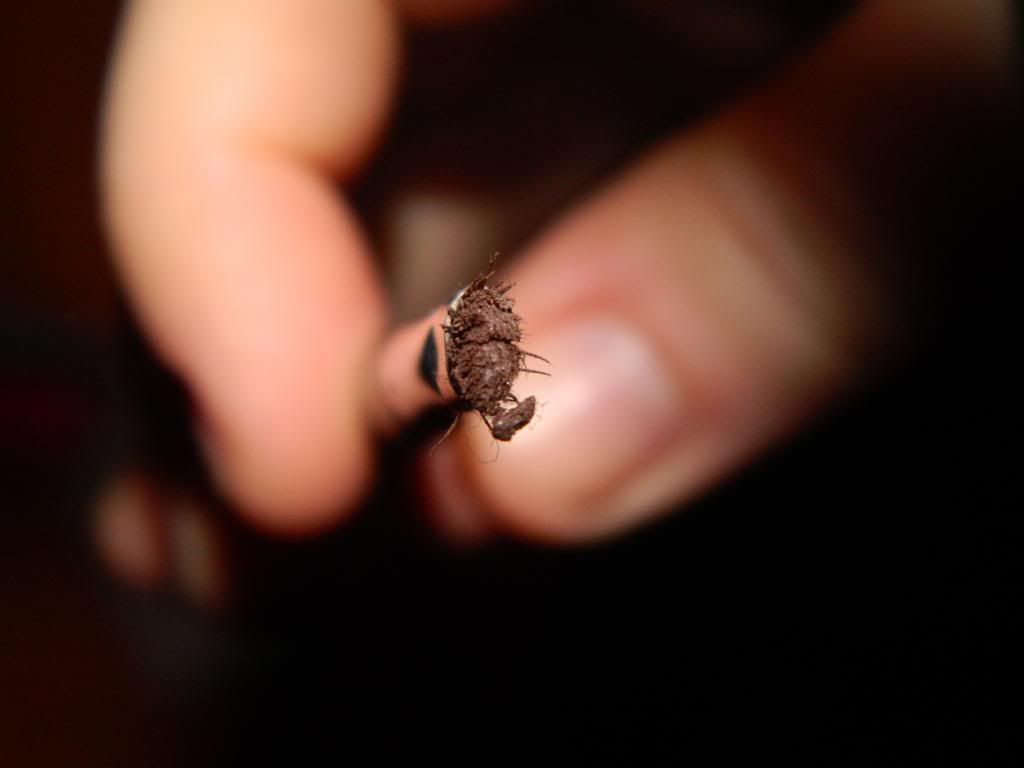
Gel and powder can clog up brush so giving the brush a little clean everyday is recommended


Saturday, 27 October 2012

A Little Something For Halloween! Black Widow Inspired!


This is a very quick and simple look I did the other day while I was playing with some makeup, its not perfect some of the details need tiding up but taught it was worth showing if some of you still need ideas for this All Hallows Eve!

Everything I used will be in your makeup bag already so no need to head out and buy new makeup and anything you may not have i.e purple lipstick just improvise with a different color, a red lip will look good here also.

Products used:
Face: Elf Flawless Finish Foundation in Porcelain
Essence Fix and Matte Powder in Translucent 
Contour: MUA Pressed Powder in Shade 4
Highlight: MAC Pigment in Vanilla
Eyes: Sleek pigment in Livid Lilac (light purple)
Sleek Pigment in Fantasy
Inglot Black Gel liner( also used for web and spider)
Lashes from Ebay
Lips:Liner MUA Eyeliner Pencil in Black
Inglot Lipstick in  Shade 282
Essence Clear Gloss

Hope your all having a great weekend!

Monday, 30 April 2012

OOTD- Buttoned Up And Frilled Out

Please excuse the busyness of this picture for some reason the computer would not let me edit it and me and technical things only go so far so it will do. Just ignore the big horse staring at you!

Went on a little shopping trip today o pick up some much needed things for the big move on Sunday. The weather here is horrid, gale force winds, rain showers and hale stones, but I never ever dress for the weather I just wear what I feel like even if it means wet toes! 

Shirt: Penneys/Primark
Skirt: Penneys/Primark
Bag: Penneys/Primark
Tights: Penneys/Pimark
Shoes: New Look
Bangles: River Island
(Basically everything's from Penneys )


I seem to be more organised then I taught I would be and have more time on my hands. Which means some blog posts this week and maybe a video or two. 
Question: Would you like a video tutorial on this look?


Monday, 23 April 2012

Everyday Makeup Tutorial


Decided to do an everyday simple makeup tutorial for you all. If you have not already would love if you could subscribe to my Youtube channel:  LittleBitOfMakeup

Here are some closer pictures:


If you have any requests for videos just leave them below in the comments! :)

Wednesday, 11 April 2012

Burnt Orange Tutorial


I was a bit unsure about putting up this tutorial as I felt it did not turn out as nice as the day before, but in the end I decided to put it up. The pictures are from the first time I wore it which I think are bit more softer looking!


Product List:
Mac Face and Body C1
Makeup Atelier Paris Concealer palette two lightest shades
Rimmel Clear Complexion in Transparent
High Beam
Inglot gel liner in 77
NYX Jumbo Pencil in Milk
Inglot AMC Shine 15
Inglot  Matte in 335
Inglot Matte in 378
Avon Perfect Eyebrow Pencil in Blonde
Avon SuperExtend Extreme Mascara in Black
MUA Pressed Powder in 4
Sleek Blush in Rose Gold
Sleek Pout Paint in Milkshake
Catrice Lipstick !30 in Soft Coral

Sunday, 25 March 2012

Second Youtube Video- First Tutorial

Ok the camera is way too close to my face! But this video has had soo many hiccups so this is the best I can do. Also I am still learning this whole video editing thingy but want to say thanks to Nina from  Ninas Bargain Beauty for pointing me in the right direction.


Please Subscribe:http://www.youtube.com/user/LittleBitOfMakeup Mucho Appreciated :)

And if any of you have anything to request for future videos just leave an comment :)

Thursday, 15 March 2012

St. Patrick's Day Tutorial

As you all know I am Irish and Paddy's Day has to be one the biggest days of the year here. I have an extra special love for the day as it is MY BIRTHDAY!!! So I will turning 22 on Saturday, I can feel my bones creaking already.

Mostly people wear green and paint their faces in Irish colors or shamrocks. This is not for everyone so this little eye look is for people to celebrate the irishness but subtly!
I have no other makeup so please do not judge!

Products used:
Inglot White Gel Liner in 76
Green Eyeshadow from 120 palette
Orange Eyeshadow from Frontcover

Literally its quick and easy draw a flick liner with the white while its still wet pat on the eyeshadow. If the liner starts to dry just add more. Apply rest of your makeup as normal.

Thursday, 12 January 2012

Weekly Challenges!

Quick post today , sometimes I enter into the Makeup Geek Weekly Challenges, every two weeks or so you get an email with the challenge which might be a theme or colors you need to use etc.. I m always trying out makeup, playing out with different looks and whats not a better excuse to show them off for a competition you might even win something! Looks can be as simple or dramatic as you like, it just has to be your own work and not photo-shopped in anyway. So if you want to enter register here http://www.makeupgeek.com/ and then click forum and weekly challenges and post your look. Simple as that!

This challenge we had to use blue , white and silver! I went wild because I love avant garde makeup and if I could wear it out all day I would! Its kind of sea nymph/ ice queen inspired , I am not posting a tutorial on this look because I do not think my readers would want one, but if you do comment below or email me and I'll be happy to do a post on it.


Monday, 9 January 2012

A Little Hiccup!

One of the main things about been a blogger is honesty. And when things go wrong we admit it. I promised to take you on this hair journey with me and after having a hiccup I backed out of it yesterday in hope I could fix it and not have to tell you about it. Even if I had of fixed it I probably would be still telling you about this because as mammy's would say honesty is the best policy!

After my first bleaching that had some slight miscommunication problems ,most of my roots came out perfect and my ends of my hair came out pretty ginger! Not a good look! I bleached again to get rid of some roots that was missed and to try lift this brassyness. Again roots all perfect now but I was still gingery as you can see.

Luckily enough my hair was still in amazing condition even after stripping and two bleachings. I was told by professionals that my purple toner that I was putting in my hair anyway would hopefully cancel out my brassy bits , something to do with the color wheel and them been opposite sides. So I tried this, my roots are exactly the silver purple ombre I was looking for (so the hunt is kind of over) but the brassy bits are now more of a strawberry blonde as you can see.


After a few hours of wallowing in my self pity, I came to the conclusion that it can be fixed and I will fix it. So in honor of my multicoloured hair I decided to do a tropical burst color tutorial for you today.


1. Apply foundation and concealer as normal and set with powder.

2. Apply a peachy blusher to cheeks, I used an eyeshadow but Benefit coralista will do.
3. Draw a cut crease using a purple eyeliner I used the purple shimmer eyeliner from elf. Using a similar color eyeshadow, blend the crease upwards to create the shape you want.
4. On the lid in the inner corner half apply a yellowish gold, I used one from my 120 palette.
5. On the outer half of the lid apply a strong orange, again from my 120 palette and blend with yellow in middle. The orange must follow the shape of the purple.
6. For a highlight I used Vanilla Ice from frontcover under the brow and blended with the purple.
7. Using a black gel liner create a flick and line the lower water line.
8. Apply mascara to upper and lower lashes. Fill in eyebrows with a dark brown or color that suits your hair.
9. For lips I just used a tiny bit of concealer and added gloss.

Saturday, 7 January 2012

A Beautiful Color of ....Erm Ginger!

So this is stripped hair, not a look you want to be walking out of the house with! This is not my natural color before you even think it, when you strip your hair your removing the color build up from years of dyeing your hair. Why it goes ginger I am not to sure.

So to strip your hair use one full sachet of Efassor mixed with 60ml of 30vol creme peroxide. Mix well and apply to hair. Apply to the darker bits first. Do not apply to roots or any hair regrowth as it will not remove this color and can be damaging to new hair.

*Disclaimer* I am literally blogging about what I am doing and I am not telling you that you should do this. Stripping hair is very harsh and can cause damage to hair , avoid doing so if you have brittle or damaged hair. Please if you want to strip your hair talk to a professional first.

So anyway onto the makeup, not so much an everyday wearable look. Really I was just kind of making fun of my gingerish and playing with colors.


1.Apply foundation and concealer as normal and set with powder
2. Contour the cheek bones and apply a light pink blush on balls of cheeks apply highlighter over this.
3. Apply a eyeshadow similar to skin tone all over lid and under lash line.
4. Apply light brown into the socket line and blend upwards, using a pencil brush apply a dark brown over this and blend upwards.
5. On the lip apply a red/orange copper color, I used one from my 120 palette but M.A.C 'coppering' would work also. Blend the edges of the copper into the dark brown.
6. Apply a small amount of Barry M pigment 44 to centre of lid and blend to add some dimension.
7. Using a black gel liner to create flick apply a thin line in inside corner and gradually getting thicker as you move to outside corner. Line upper and lower waterline with black also Apply mascara to upper and lower lashes.
8. Using pencil brush apply a shimmery gold to under the lashline and in the inside corner of eye.
9. Line lips with a bronze lip liner( I used one from Avon called bronzer which also has a lipgloss and lipstick attached to it. Fill in the outer edges of lips also and blend with clean lip brush. Using the Barry M pigment 44 mixed with clear gloss I applied this all over lip.

Friday, 6 January 2012

The Hunt for a Silver Purple Ombre!

I am a women on a mission, late last night when I have nothing better to do but think I decided I was bored with my hair. When I was in school I had this feeling nearly every two weeks and changed my hair to every color imaginable. Even green, which happen by accident. I have been very good last few years and over last 4 years I have only gone from brown to purplish. So I decided I was allowed give into my cravings for change.

The first thing that came to mind was a Viva Adonis post where one of their friends died their tips of their hair purple, though it suited her I have a bob cut and knew I would just ridiculous if I did it to mine. But she mentioned a purple ombre so I went in search of what an ombre was. I fell in love instantly with a silver purple ombre and that was it I had to have it.

At the moment I'm dark brown with a purple tone off it I use XXLLive in Cyber. So getting this to literally white hair would be a challenge and a bloody expensive one in the hairdressers. I am pretty good with hair and so is my mam I also have a few family members who are hairdressers if I need some help. I also did a lot of research online and watched countless hours of YouTube videos on girls who did this as well. So today I popped into Sally Salon Services in Wexford and picked up everything I need for this mission.

I got Efassor a hair colorant remover/stripper, 30 vol Creme Peroxide , Blue Bleach Powder , Purple Haze Paintbox and Blue Frosting Silver Shampoo. I got the Aussie 3minute miracle deep treatment in Sam McCauley Chemist. As after and during the mission my hair will need some TLC! All these came to just under 40 euro but bear in mind I did get trade discount in Sallys.

I am hoping this will take about 4 days to complete and I will be taking you on this journey also. Everyday I will be posting a look of the day to match my hair and details on what I did.


So how to achieve this look
1. I applied foundation and concealer as normal. ( Revlon Color Stay in Ivory and Maybelline 24hr concealer)
2. Set with Rimmel Clear Complexion Powder in Transparent.
3. Filled in brows with dark brown Eye shadow.
4. Contoured using Inglot AMC Powder in 17
5. I patted Vanilla Ice from Front Cover all over lid up to crease.
6. Using a soft lilac eyeshadow from my 120 palette from Ebay, using a pencil brush I applied this to the crease and blended.
7. Using the soft lilac I created the winged out eye shadow with the pencil brush.
8. Using a dark purple( cadbury purple) I applied this over the lilac and blended.
9. Using the pencil brush again I applied the purple under my lower lash line 3/4 of the way in .
10. Apply mascara to upper or lower lashes.
11. Mix the cadbury purple eyeshadow with clear gloss and apply to lips.

Related Posts Plugin for WordPress, Blogger...